There is nothing more important to a hockey player than their hockey stick. It is their most prized possession. When they're playing, it is like an extension of their bodies.
For this reason, they spend a lot of time before each match making sure it is properly prepared.
A well-prepared hockey stick will survive the whole game and be in great shape to score the winning goal and send the crowd wild.
To prepare their hockey stick, most players will use tape. This is a process that is intertwined with a lot of pre-match superstition for many players.
They take it very seriously and there is an art to properly taking up a hockey stick.
This is the art that we are going to help you master today.
What You Will Need To Tape Your Hockey Stick
There are four main things you will need to tape up your hockey stick:
- Hockey blade wax
- Hockey tape
- Scissors
- A ball of string (optional)
You will use the hockey wax to prepare the wood of the stick for taping. This prevents the removal of tape from damaging the stick.
You will need the scissors to cut the tape into the right length strips. You need your hockey tape to be thick, you do not want to use a take that you can tear with your hands.
Some players use string to pad out their sticks, as you will see later.
Why Do Players Take Their Sticks?
Hockey players take their sticks for three reasons
- To protect their sticks during the game
- To make their sticks easier to hold
- Superstition
While the final reason does play a part in how many players tape their sticks, it is a necessity, unless you can afford to go through 5-6 sticks a year.
You will notice that players from the NHL, right down to the children's leagues, tape up their sticks - it is something players of all skill levels need to do.
Is There A Right Way To Tape A Hockey Stick?
The truth is there is no right way to tape a hockey stick. But there is one way that might work better for you than another.
How you tape your hockey stick will deepen how you play hockey and how you hold your stick. It will also depend on what position you play.
The best way to work out the type of stick taping that works best for you is to experiment. This is something you can do in your practice sessions.
Try out different combinations for a few hours and make notes on how they perform. At the end of the experiment look back on what you have learned and make the choice that is right for you.
You may also want to use different color combinations to decorate your stick.
Taping The Butt End

The butt end (the top) of the stick is nearly always taped up.
This is where your hands will spend the most time and this is where your control of the stick emanates from. Therefore it is one of the most important places to tape up - to add extra grip, comfort, and control.
You may prefer to flatly wrap the tape around the top of the stick or to use the "candy cane" method.
You will want to start wrapping the tape around the very top of the stick and working slightly down the shaft. You do not need to go much further than a hand's width down.
You can use string or twisted tape to create a candy cane effect on the stick. These ridges will drastically improve your ability to grip the stick.
You want to make sure they are well attached and don't move too much during the game.
Taping The Shaft
If your hockey stick does not come with grips on the shaft then you are going to want to look into taping it up.
To work out where the tape needs to go, pick up your hockey stick without thinking too much about it. Where do your hands naturally rest - this is where you will want to put your tape.
Then pretend you are going to take a penalty - note where your hands are resting during this shot and tape up these areas too.
When taping the shaft, you will want to lay the tape flat against the shaft. Take the time to place the tape on slowly, making sure there are no bumps in your tape job.
To add extra grip to your shaft, use alternating types of tape.
Taping The Stick Blade
This is where we see the biggest difference between taping methods.
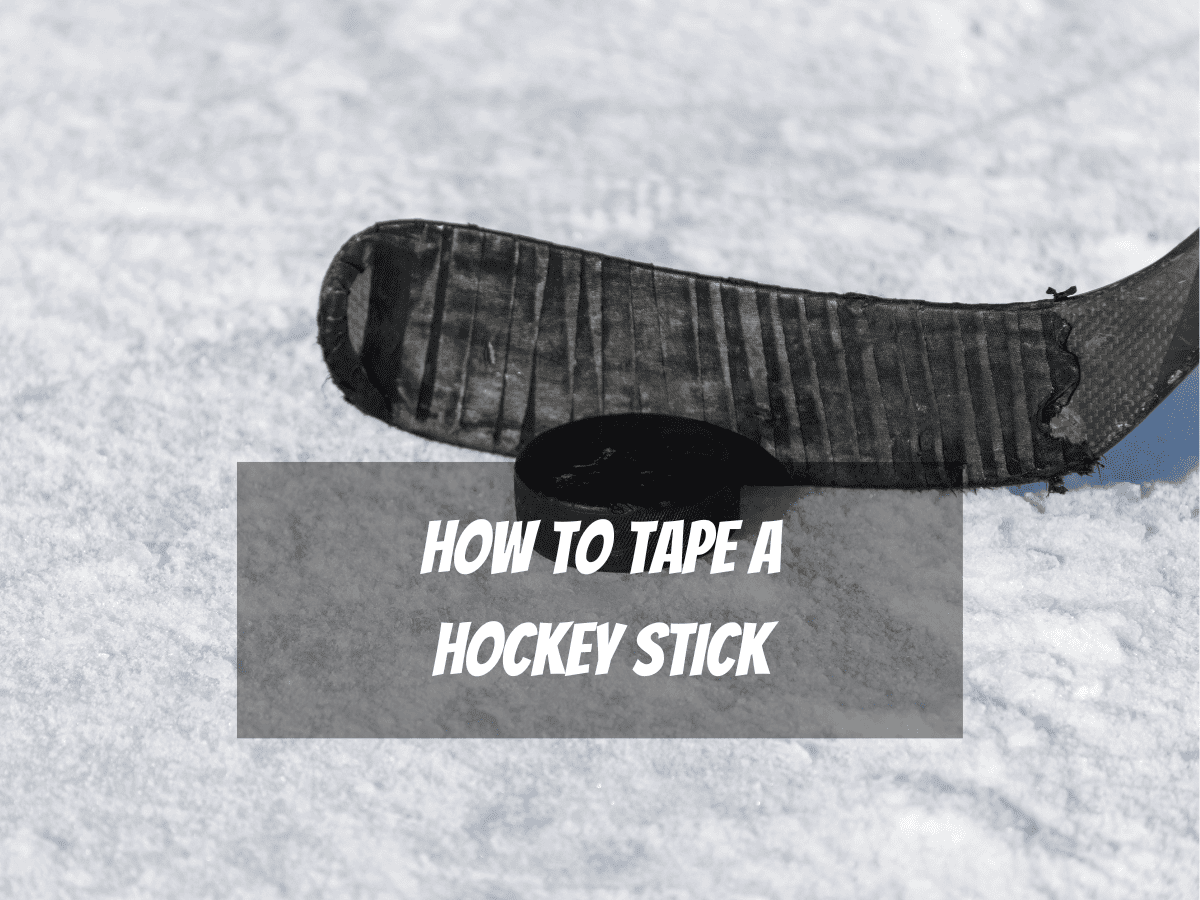
Some players like to tape the whole of the blade, from the start of the curve and all the way up to the toe.
Some like to only put their tape over the toe of the blade. While others like to exclusively tape the middle of the blade.
To work out where you need your tape, take note of what part of your blade you use the most.
If you use multiple parts of the blade throughout the match then tape over it all. However, if you only use the very end then you may only need to tape over the toe.
Summary
Tape is used on hockey sticks to protect them, to make them easier for the player to hold, and to make them look cool.
Each player has a unique way of taping their stick. This will be based on how they hold their stick and the type of hockey that they play.
They may have also decorated their hockey stick as a tribute to one of their heroes or inspired by another player on their team (Here are some Ice Hockey Quotes To Inspire Your Team).
Hockey sticks can be taped up with any color tape, but please check with your league first before you start - they may have their own rules on the topic (You might also want to check out How To Measure A Hockey Stick).

